As an Amazon Associate I earn from qualifying purchases.
Tutorial to help you make a Christmas owl ornament
Table of Contents
Are you eager to make some Christmas crafts? Then you have come to the right place. Today we’re gonna make a Christmas owl ornament – or more if you like them. We all love to adorn the Christmas tree using tiny ornaments. Tree embellishments are mostly made out of hand blown glass, plastic, ceramics, wood or metal.
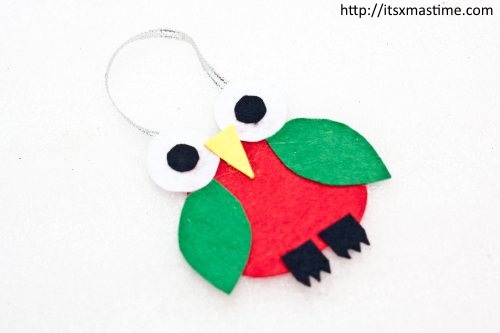
The standard Christmas ornament themes are angels, baubles, birds, snowflakes, candy canes. But this year you want to be creative and hang something unusual to your tree. This can be done with some creativeness and a bit of handycraft.
Here I’m about to show you how to make a Christmas owl ornament easily. This kind of decorative item is not common and you will not see it in everybody’s home. So if you are ready to create your very own one-of-a-kind Christmas owl ornament, take a cup coffee and read on.
How to create a cute Christmas tree owl ornament
Materials you will need for this craft:
- 1 sheet of each of these different craft felt colors: green, black, white, yellow and red;
- 1/4″ W silver satin ribbon (or your favorite color);
- Scissors;
- Hot glue gun.
Directions to make a Christmas owl ornament:
You can switch colors from this tutorial and adapt them to your favorite shades, of course. But I’m about to show you how to make a Christmas owl ornament which body is red, and wings are green. So let’s begin.
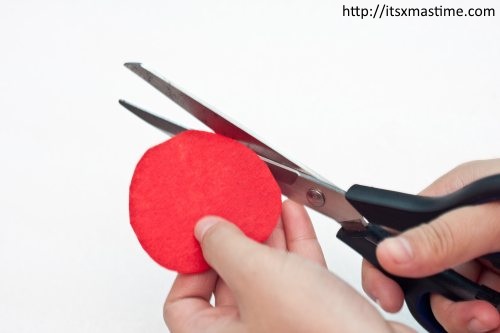
Take the red felt craft and cut out a semi-circle. This will be used as the body of your owl ornament.
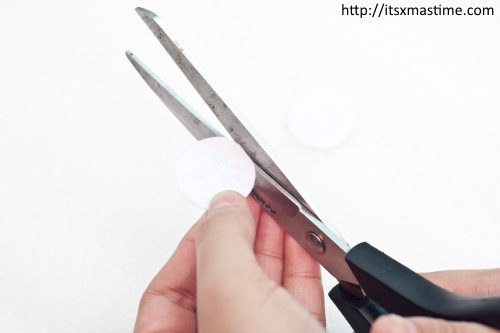
Now choose the white felt craft and cut our two circles. These will be used as the eyes of your Christmas tree owl ornament.
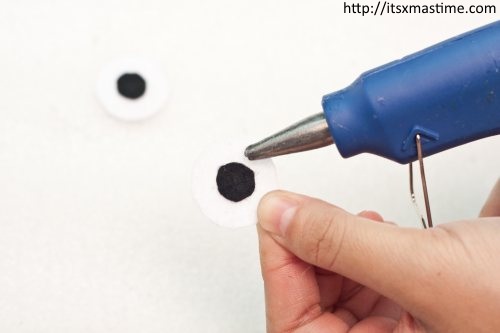
Out of the black sheet of felt craft, you are going to cut out two mini circles and glue them on the center of the white circles you just cut out. Now your owl’s eyes are ready.
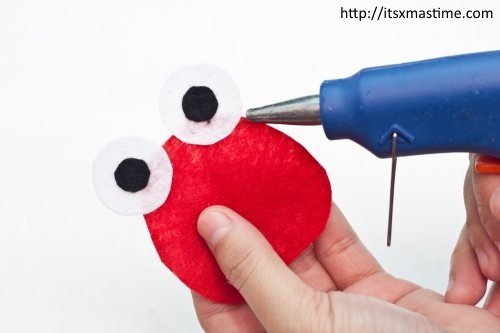
Glue the owl eyes on the top of its body – as shown on the picture above. Remember to preserve some space in the middle of the eyes.
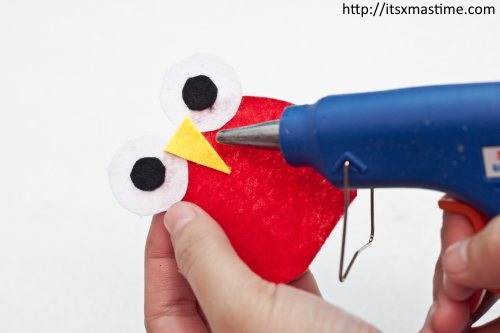
Cut out a small triangle out of the sheet of yellow felt craft. Glue this triangle upside down between the owl’s eyes. Your cute little tree ornament now takes form: it has a body, eyes and a beak.
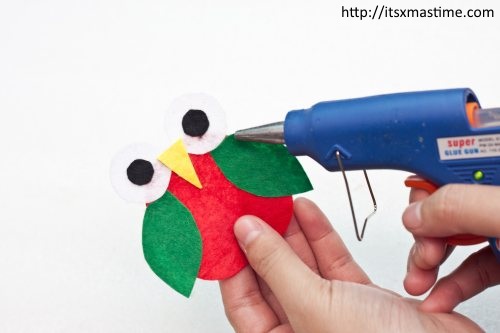
Take the sheet of green felt craft and cut out the wing. Cutting these in the form of leaves makes it easier for you or the kids. Glue each wing on the sides of the body, just beneath the eyes.
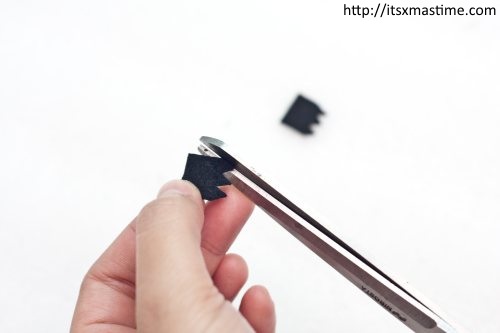
Cut out the owl’s tiny legs and feet in one piece out of the black felt craft as shown on the image above.
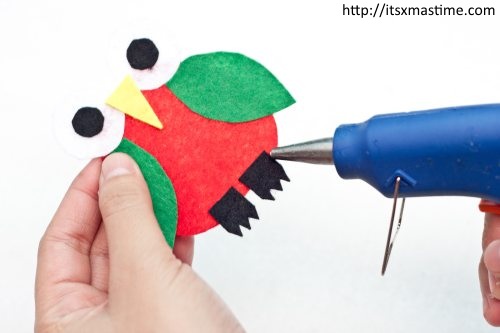
Glue the feet on the bottom of your owl’s body.
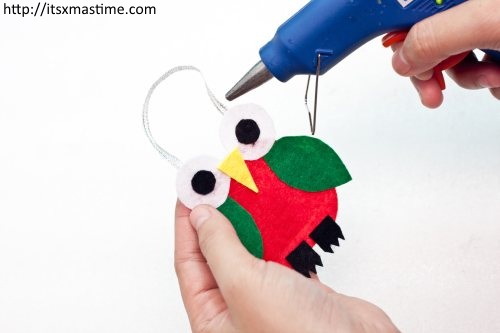
Cut out 2 inches out of the ribbon and glue it on the back of the owl. The perfect location is the back of its eyes.

Voila! Your cute Christmas owl ornament is ready to be hung on the tree.
This kind of Christmas craft is fun to make and is also a wonderful embellishment for your tree. I’d suggest to make some more of these adorable felt crafts, in different colors so as to make them look even more gorgeous. As said earlier, this ornament can be made by the kids, provided that you supervise the task. Enjoy 🙂


